
My friend, artist Tanya Stanojevic Kauker, gave me an introductory lesson in working with encaustics. This is working with wax. Tanya’s work is abstract landscape in a form you might not have seen before. As Tanya says in her bio:
“My aerial perspectives elicit a feeling of exhilaration, as if one is flying over the landscape marveling at the beauty of our planet.”
Tanya Stanojevic Kauker.
This is true. I’ve also seen a lot of work online by various artists, where items are embedded in wax. In my mind it is a medium I want to experiment with, but it isn’t for the faint of heart. I feel I need to work up to doing more.
Equipment for Encaustic Art
Encaustic medium (created from wax and resin) has to be heated to melting point. I used a second hand Teppanyaki BBQ plate which I found for $20. This was flat and allowed for both heating containers and also putting wax directly onto the plate.
Creating colours can be done in a number of different ways. I chose to chop small pieces of oil paint sticks with the encaustic medium. Each colour must be heated in a separate heat tolerant container. Tanya advised me to use aluminum tart cases, which worked well. Brushes have to be bristles, so they don’t melt in the wax.


Preparing the painting surface for the application of the encaustic medium takes time. Tanya showed me how to use masking tape to build a raised edge above the wooden board we were using. This is to stop the wax dripping off the edge. Several layers of plain encaustic medium must be applied before any design elements are added. This requires a heat source to blow hot air over each layer to seal it to the layers below.
Building an Image
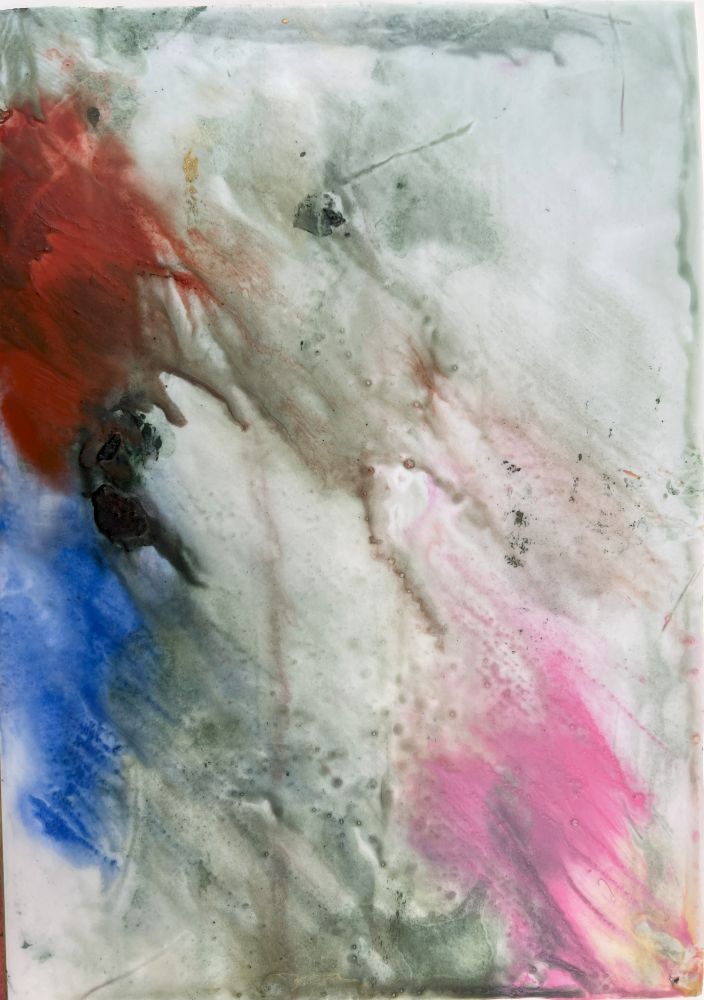
My work, as a beginner, was very experimental. I wanted to know how to embed a photograph, a dried leaf, and some collage paper I had painted. I then tried to paint in a few different colours. Tanya showed me how to create the colours from the oil paint sticks. I believe you can use oil-based crayons, and various pigments, but we did not do this on the day. The result of my experiment is not very artistic, but I learned heaps.

We then used oil crayons to draw on the hot Teppanyaki plate. Using rice paper to absorb the melted crayon, I pulled a print I was happy with. This is the feature image at the top of this page.

Future Work
At the moment I don’t have any encaustic artworks on display, but the form interests me a great deal. I can only marvel at the skill Tanya has built up over time. View more of Tanya’s work on her Instagram profile, which includes some videos of Tanya creating.
Thank you so much Tanya for your generosity in showing me how working with encaustics can be so much fun. I hope I can surprise you soon with some new experimental works.
If you enjoyed this post, you can see more in my 100 Days of Art project here.
Leave a Reply